A forgotten beauty.
Just recently I purchased a box of lighting oddments that were brought back to the UK from France. A contact of mine always keeps his eyes open for lighting parts during his travels as he knows that I eventually end up finding a use for them.
At the bottom of my recent box of purchases, I found an old and neglected wooden table lamp, at first glance it looked ready for the recycling centre but on closer inspection, the lamp was found to be a bit of a hidden gem and a forgotten beauty.
The lamp is in a traditional reeded column form with a round base and has beautifully hand-carved detailing all over, it is typical of antique Victorian table lamps. Being from across La Manche / English Channel the lamp had been hand-carved in the French Empire style.
This great looking old work of Art was actually found in two pieces having been broken at some point in its history, luckily the smaller splinters of wood from the breakage were also 90% present.
The lamp was carefully reassembled using a modern wood glue called Titebond, any small gaps were filled using a modern two-part wood filler. Once assembled the lamp base was slightly adjusted to remove an old irregularity which was stopping the lamp from standing true. After these remedial repairs, the lamp could be properly assessed.
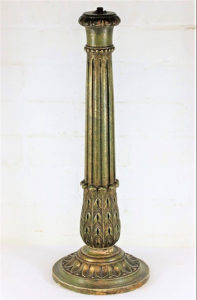
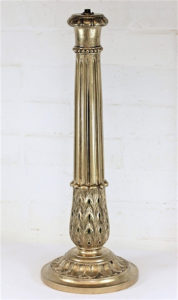
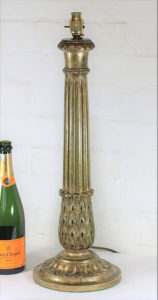
The old lamp after reassembly and straightening.
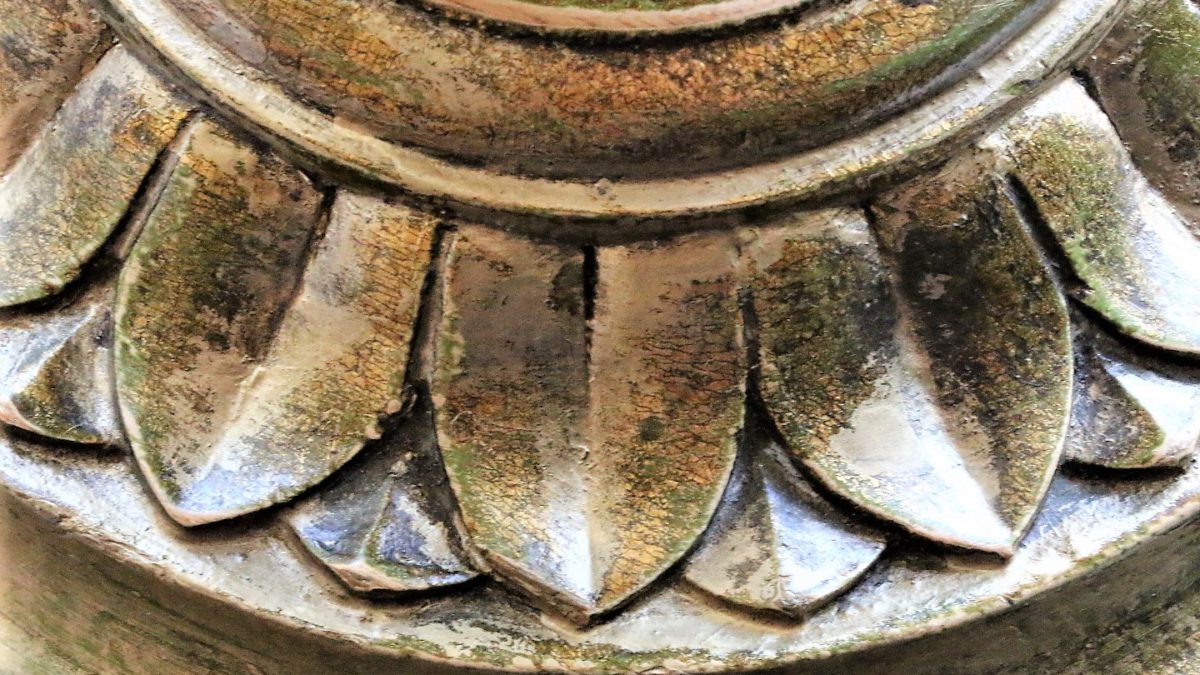
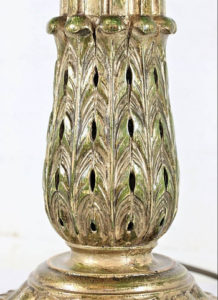
The first thing that stands out on this lovely antique French table lamp is the carving which was all carried out by hand and is of excellent quality. The round base has a large row of stylised leaf detailing acting as a pedestal border to the column. The slightly tapering column is deeply reeded with a hand-carved detail at the top and amazing leaf column detailing at its base.
The original finish is a mixture of an old Gold Gilt and verdigris Green on a thin Gesso type base, Gesso is a mixture of paint and a chalk binder that was used to provide a substrate base for a final decorative finish.
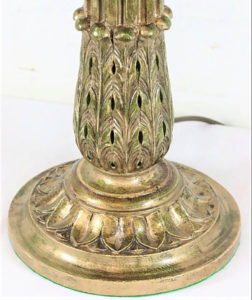
The base has some noticeable irregularities where the repair had been carried out and was given a light rubbing with a 000 gauge wire wool, with the dirt, loose finish and repair debris removed the lamp looked a bit different and a lot greener.

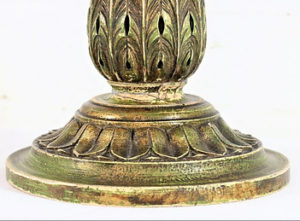
Here we can see the repair detail.
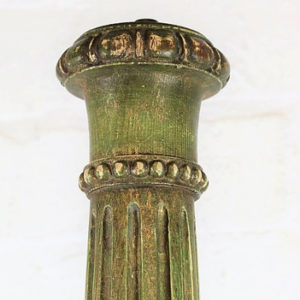
After the wire wool clean we can see some of the lovely hand-carved details.
Refinishing the lamp.
The lamp was now in need of a refinish. The repair was clearly visible and to a degree would always be so. I wanted to refinish the lamp with a Gold finish that would allow the original Verdigris to show through, I also wanted to leave some of the areas of finish loss on display and to let the “life” of the lamp be clearly visible. I consider the life and history of such a lovely old lamp to be part of its appeal as a piece of modern lighting. What would the point be in spraying it gold and making it look new?
The first stage is to thoroughly degrease and clean the lamp. I use industrial thinners which are perfect for removing grease and dirt from detailed difficult to reach areas, such thinners should always be used outside or in a heavily ventilated area.
The paint I use for a project like this is called “Liquid Leaf” by Roberson & Co. Liquid leaf paint is a fantastic product, it is sold in small jars of 30ml which sounds like a tiny amount but these small jars have a coverage area of 2sq Meters so a little goes a long way.
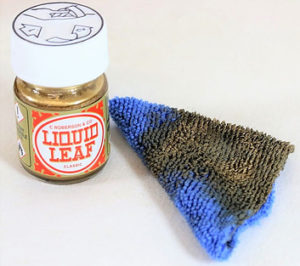
I applied the liquid leaf using a small piece of textured cloth using a dabbing motion, the lamp was given two coats of the liquid leaf paint which provided a bright Gold gilt effect finish.
The lamp after two coats of Liquid Leaf.
The next stage was to lightly rub down the lamp with fine wire wool to reveal the original Verdigris, areas of original finish loss and the important dents, marks and signs of life.
When I was happy with the finish balance I gave the lamp a coat of quality Micro Crystalline wax which slightly darkened the paint and provided a more aged look to the new finish.
The lamp was now ready for rewiring. The lamp was fitted with new wiring and components that comply with modern standards.
Once the lamp was rewired and tested it was given one final application of Micro Crystalline wax, once dry the lamp was buffed and left to harden.
The refinished lamp.
With the new finish, the woodcarvers’ original skills are really shining and their work is again ready to be used for the original design purpose of lighting a space.
The refinished lamp and its beautiful carved details
The lamp base was fitted with a pale blue pleated lampshade and was put into use, this handsome old lamp would make a great addition to a period room or a contemporary space that needs something to set against its clean modern lines.
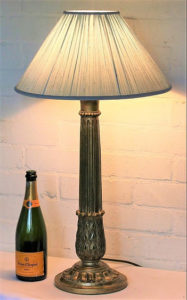
The newly refinished lamp in use.
The carving and skill of the original maker made this lamp well worth saving, it was a long job and it was a little hit and miss at times but I am really happy with the end result and I am delighted to have provided this wonderful piece of Antique lighting with new life.
Materials – Titebond wood glue. Two-part wood filler. Degreaser Thinners. Liquid Gold Leaf paint. Micro Crystalline wax. Earthed Wiring. Earthed Brass bulb holder. Wire wool and sundries.
Time Spent on the lamp – 5 Hours.
I often have a number of Vintage Industrial items for sale in my eBay shop here – Hertfordshire Lighting and Design
I would love to hear from anyone who has performed a similar refinishing project; it’s always great to share ideas with other people.
If you have any questions or need advice on any item of Vintage lighting please contact me and I will do my best to help.
Michael Adkins. michael@hertfordshire-lighting.com